
Installing an outdoor ceiling fan on porch or patio can provide a cool breeze during the hot summer months. Not only does it make spending time outdoors more comfortable, but it can also add a stylish touch to your outdoor decor. In this guide, we'll describe how to install an outdoor ceiling fan step-by-step, ensuring your safety and success.

Materials and Tools
Before you begin installing your outdoor ceiling fan, you'll need to gather some tools and materials. Here's a list of what you'll need:
- Outdoor ceiling fan
- Ladder
- Screwdriver
- Wire stripper
- Electrical tape
- Wire connectors
- Screws
- Mounting bracket
- Safety glasses
- Gloves
Preparing for Installation
Before you start mounting your fan, it's important to take a few steps to prepare. First, ensure that your electrical wiring is up-to-date and safe. If you're unsure, it's best to consult a professional electrician. Next, make sure that your fan is rated for outdoor use and is designed to withstand the elements.
Finally, ensure that you have all the necessary tools and materials before starting.
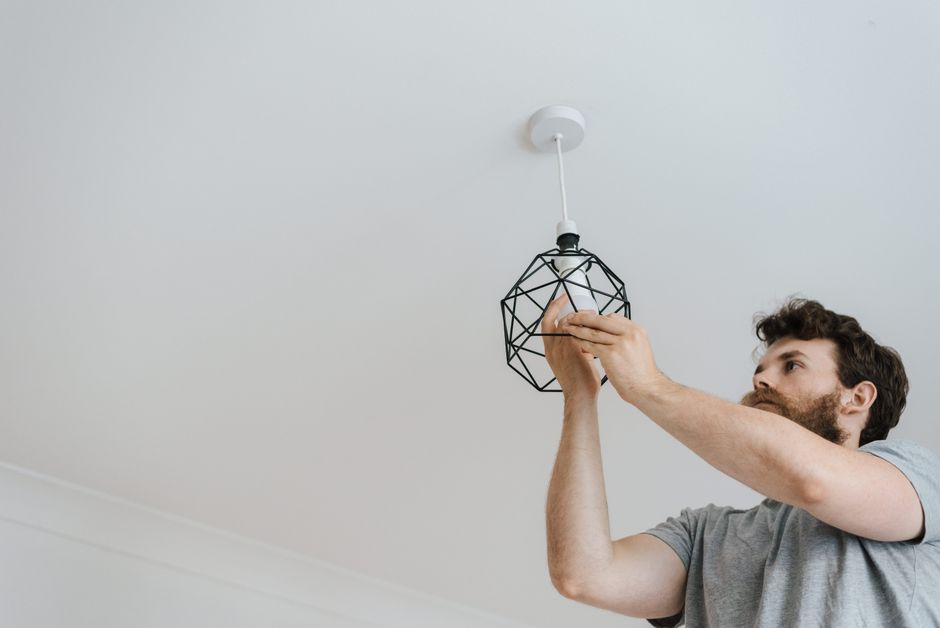
Mounting the Fan
- Begin by installing the mounting bracket onto the ceiling where you want to place your fan. Use a pencil or pen to mark the location for the bracket screws, and then drill pilot holes into the marks.
- Connect the mounting bracket to the ceiling using screws, ensuring that it is secure.
- Next, attach the fan motor to the mounting bracket using screws. Follow the manufacturer's instructions for proper placement.
- Once the fan motor is attached, attach the fan blades to the motor, ensuring that they are aligned properly.
- Finally, attach any other accessories, such as light fixtures, according to the manufacturer's instructions.
Wiring the Fan
Now that the fan is mounted, it's time to wire it up.
- Turn off the power supply to the fan and ensure that the wires are not live.
- Attach the fan's mounting bracket to the electrical box using screws.
- Connect the electrical wires from the fan to the corresponding wires from the electrical box.
- Use wire connectors and electrical tape to secure the connections.
- Follow the manufacturer's instructions for any additional wiring, such as connecting a light fixture or remote control.
- Once all the wiring is complete, carefully tuck the wires into the electrical box and attach the fan's canopy.
Final Steps
With the fan mounted and wired, it's time to test it and make any necessary adjustments.
- Turn on the power supply to the fan and test it to ensure that it's working properly.
- If the fan is wobbling or making noise, use a balancing kit or adjust the blade angle to fix the problem.
- Once the fan is functioning correctly, tighten all screws and give it a final inspection.
Common Mistakes to Avoid
Even experienced DIY enthusiasts can encounter hurdles during outdoor fan installation. One frequent error is neglecting the fan's location. Ensure the fan is installed where it can get maximum airflow, avoiding corners or areas blocked by fixtures.
Another common mistake involves poor wiring connections. Take extra care to securely connect all wires, and use wire nuts to insulate exposed ends. Loose connections can cause the fan to malfunction.
Also, check if your chosen ceiling fan is weatherproof. Using an indoor fan outdoors leads to short-circuits and damage, so confirm that the fan is rated for outdoor use.
Cost Considerations
The cost of installing an outdoor ceiling fan varies considerably. Budget models start at around $50, while premium options can exceed $300. Factor in the expense of installation materials and tools, too.
If you plan to hire a professional, installation fees will add to your budget. Professionals usually charge between $100 and $300, depending on location and complexity. For a simpler installation, you might save by doing it yourself.
Also, consider ongoing costs such as electricity use. Energy-efficient fans, typically rated with a good Energy Star score, can help lower your monthly bills while providing the same comfort.
Maintenance Tips for Longevity
To keep your outdoor ceiling fan in great shape, regular maintenance is key. Start by inspecting the fan blades for dirt and debris every few months. Use a soft cloth and a mild detergent to clean them.
Check the mounting brackets and screws periodically to ensure everything is tight and secure. Loose parts can lead to wobbling, diminishing the fan's efficiency.
Also, lubricate the fan motor as per the manufacturer’s recommendations. Keeping the motor well-lubricated prevents overheating and extends the fan’s life.
Conclusion
By following these convenient steps, you can easily install an outdoor ceiling fan safely and efficiently. Remember to prioritize safety throughout the process and to consult a professional if you're unsatisfied about anything. With your new ceiling fan, you'll be able to enjoy your outdoor space in comfort and style.