
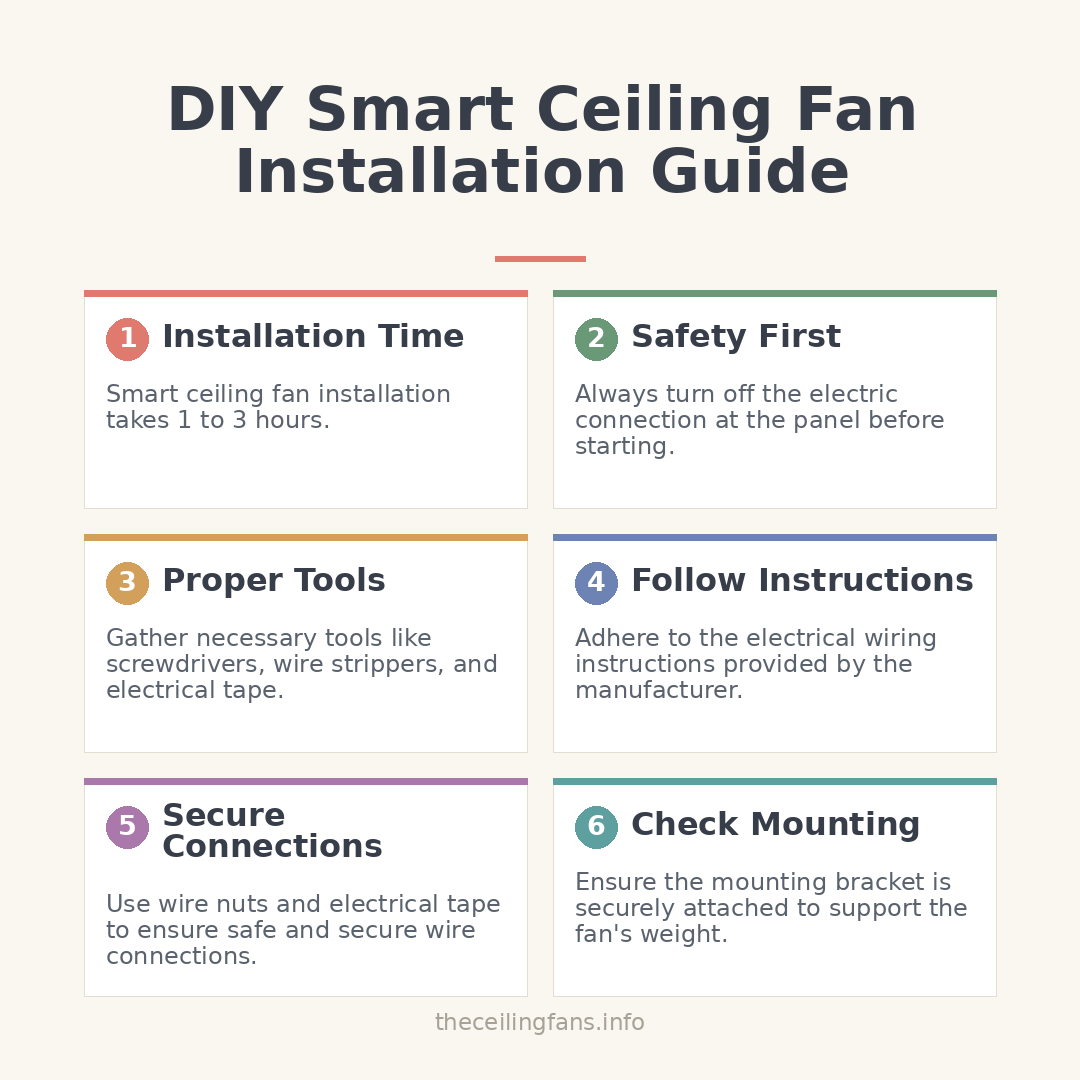
A smart ceiling fan installation can typically be completed in just 1 to 3 hours, significantly improving your home's comfort and energy efficiency. This guide offers a detailed, step-by-step approach to help you easily set up your smart ceiling fan, enabling you to control it effortlessly with your smartphone or voice assistant.
Tools and Materials
Before you begin, you’ll need the following tools and materials:
- Ceiling fan
- Ceiling fan mounting bracket
- Screwdriver
- Wire stripper
- Wire nuts
- Electrical tape
- Wire connectors
- Light kit (optional)
Preparation
Before you begin the installation, turn off the electric connection to the ceiling fan by flipping the
switch in your electrical panel. If there’s an existing fan, remove it and prepare the ceiling for the new fan.
Electrical Wiring
- Follow the manufacturer’s instructions for electrical wiring.
- Attach the wires from the ceiling to the wires from the fan using wire nuts and electrical tape.
- Secure the wires to the fan using wire connectors.
- Double check your connections and cover them with electrical
- Attach the ceiling fan mounting bracket to the ceiling box using the screws provided.
- Hang the fan motor from the mounting bracket and secure it with screws.
- Connect the wires from the fan motor to the wires from the ceiling using wire nuts and electrical tape.
- Attach the cover plate to the mounting bracket.
Mounting the Fan
- Follow the manufacturer’s instructions for mounting the fan blades.
- Carefully attach the fan blades to the motor housing.
- Use the screws provided to secure the blades to the motor housing.
Installing the Blades and Light Kit
- If your ceiling fan has a light kit, attach it to the bottom of the motor housing using the screws provided.
- Connect the wires from the light kit to the wires from the fan using wire nuts and electrical tape.
- Attach the light bulbs to the light kit.
Programming and Setup
- Follow the manufacturer’s instructions for programming and setting up the smart features.
- Download the manufacturer’s app and create an account.
- Connect the ceiling fan to your home’s Wi-Fi network.
- Use the app to control your ceiling fan’s speed, direction, and lighting.
- Connect your smart ceiling fan to your voice assistant (if applicable) for voice control.
Conclusion
By following this guide, you should now have a fully installed and programmed smart ceiling fan in your home. Remember to always follow safety guidelines when working with electrical wiring and heavy objects. Enjoy the benefits of a smart ceiling fan that provides both comfort and convenience.