

To fix a ceiling fan light without calling an electrician, first check if the bulb is properly seated or needs replacement; many issues stem from a loose or burnt-out bulb. With basic tools like a screwdriver and a voltage tester, you can diagnose and resolve common problems, such as faulty wiring or a malfunctioning remote. A little patience can restore your ceiling fan light to full brightness.
In this article, I will share my firsthand experiences repairing ceiling fan lights. I’ll walk you through how to replace a light bulb, check the wiring, and troubleshoot common issues like circuit breaker problems or a malfunctioning fan pull chain. These solutions can save you time and money, getting your fan light back in working order before you know it.
Diagnosing the Ceiling Fan Light Issue
The first step is to determine why the light isn’t working. In my experience, most issues come down to either a burnt-out bulb or a wiring problem. I suggest starting with the simplest solution: checking the bulb. You might be surprised how often a burnt-out bulb is the culprit!
If replacing the bulb doesn’t fix the issue, the next step is to examine the wiring. Turn off the power at the circuit breaker for safety, then inspect the connections at the ceiling and the fan itself. Loose connections are surprisingly common and can lead to all sorts of problems.
Another thing I’ve noticed is that if the light still won’t turn on after replacing the bulb and checking the wiring, the issue might be with the circuit breaker. Sometimes, the breaker may trip without you noticing. Make sure to check your breaker box for any switches that have flipped and reset them if necessary.

Tools You’ll Need for the Repair
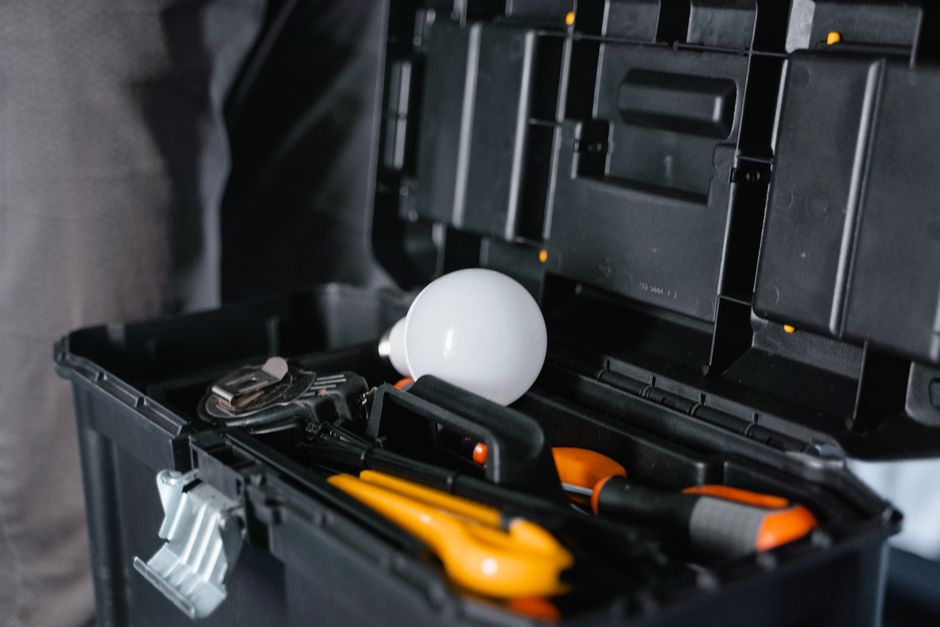
Having the right tools at your disposal can make fixing your ceiling fan light much easier. Here’s the list of tools I found essential:
- Flathead and Phillips screwdrivers
- Multimeter (for checking voltage)
- Replacement light bulbs
- Wire stripper and cutter
- Electrical tape
- Step ladder
With these tools, you can feel confident tackling most common repairs. I recommend always using a multimeter. It’s invaluable for testing whether power is reaching the light fixture and can help you quickly identify if a wiring problem is the cause.
How to Replace the Light Bulb
Replacing the light bulb is often a straightforward task. First, make sure you turn off the power to the fan. This is crucial for your safety. Once you’re safe, remove the light bulb cover if your fan has one, usually secured by screws or a simple twist lock.
Next, take out the old bulb—gently turning it counterclockwise—and replace it with a new one. Ensure that you’re using the right type of bulb for your fan, as some models require specific styles or wattages. After replacing the bulb, put everything back together, restore power, and test the light switch!
Checking Fan Light Wiring
If replacing the bulb didn’t solve the issue, checking the wiring may be your next step. I found that turning off power at the circuit breaker before working is a must-do practice for safety. Remove the canopy cover from the ceiling fan. You will see a cluster of wires—these are the ones that provide power to the fan and light.
Check each connection; sometimes wires can become loose or corroded. Make sure each wire is securely connected, and look for any frayed or damaged wiring. If you find damaged wires, they will need to be cut and replaced. It’s essential to securely wrap everything back with electrical tape to prevent any short circuits.
Troubleshooting Circuit Breaker Issues
If your ceiling fan light is still not turning on, the issue might stem from your circuit breaker. As I learned, circuit breakers can trip for various reasons, including overloaded circuits or short circuits. Make sure to locate your breaker box to see if any switches are in the “off” position.
To troubleshoot, flip the switch back to the “on” position. Wait a few moments and then check whether the fan light works. If it doesn’t, you may want to consult with an electrician if the breaker continues to trip, as it might indicate more extensive electrical issues in your home.
Addressing Fan Pull Chain Problems
Another issue that could prevent your ceiling fan light from illuminating is a malfunctioning pull chain. In my experience, pull chains can become stuck or break, preventing the light from turning on. To troubleshoot this, check if the chain is properly connected and if it’s able to move freely.
If you find that the pull chain is broken, these can often be replaced. You’ll need to disassemble the switch housing to access the chain mechanism. Replacement chains are typically available at hardware stores, making this a manageable DIY task.
Final Thoughts and Safety Tips
Trying to fix your ceiling fan light can be a rewarding experience, often leading to a simple solution. Start with the easiest checks, like replacing the light bulb and examining the wirings. Always remember to prioritize safety by turning off the power when working on electrical components.
Keep in mind that if at any stage you feel uncomfortable or unsure, it’s always best to contact a professional electrician. Also, if you’re dealing with issues beyond the light, like how to secure your fan properly, I’ve got a guide on ceiling fan brackets that could help. For more detailed instructions on repairs, you can visit how to fix a ceiling fan.
FAQ Section
What should I do if the light bulb is new but still doesn’t work?
Check the wiring connections to ensure they are secure, and verify that there is power at the light fixture using a multimeter. You can also check the circuit breaker for any tripped switches.
How can I tell if there’s a wiring issue?
If you’ve checked the bulb and other basic fixes, measuring voltage at the light fixture with a multimeter will let you know if the wiring is functioning. If there’s no voltage, you may have wiring problems that need addressing.
Is it safe to replace a ceiling fan light myself?
Yes, as long as you follow safety precautions, like turning off the power at the circuit breaker. Use proper tools and work carefully.
When should I call a professional?
If you’ve checked the bulb and wiring, and the light still doesn’t work, or if you’re uncomfortable handling electrical repairs, it’s wise to call a licensed electrician.