

Kitchen exhaust fans are an essential component of any kitchen. They help to remove smoke, odors, and excess moisture, keeping the air in your kitchen fresh and clean. Over time, however, these fans and exhaust fan filters can become clogged with grease and other debris, reducing their effectiveness and posing a fire hazard. That's why it's essential to clean your kitchen exhaust fan regularly.
In this article, we'll provide you with some DIY tips on how to clean your kitchen exhaust fan, helping to keep your kitchen safe and healthy.
Preparation
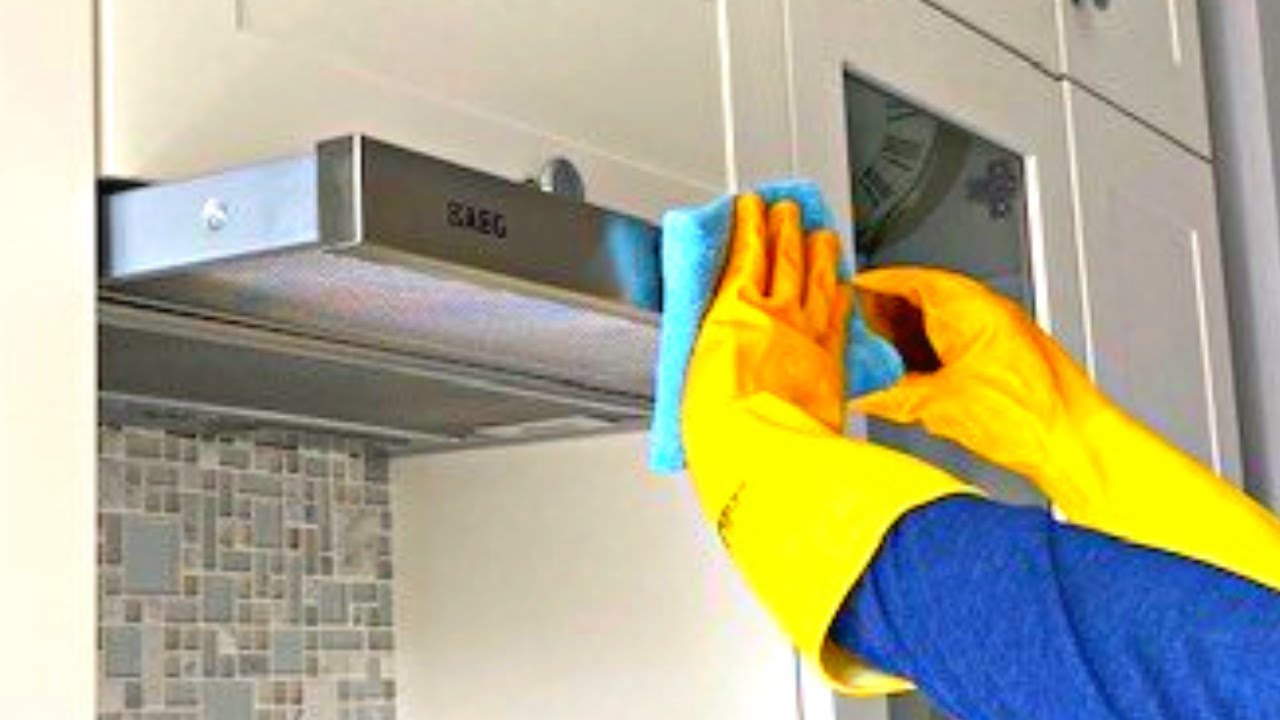
Before you begin cleaning your kitchen exhaust fan, gathering the necessary tools and materials is essential. You'll need a degreaser or vinegar solution, a scrub brush or sponge, a vacuum, and a clean cloth. Additionally, it's crucial to turn off the power to the fan to prevent any accidents.
Remove the Fan Cover
You'll need to remove the fan cover to clean the fan blades and housing. First, identify the type of fan cover you have. Some covers are held in place with screws, while others use clips. Once you've identified the type of cover, carefully remove it from the fan.
Clean the Fan Cover and Blades
Once the fan cover is removed, you can begin cleaning the blades and cover. Soak the cover and blades in a degreaser or vinegar solution for a few minutes to help loosen any dirt or grime. Then, thoroughly wash the cover and blades with a scrub brush or sponge. Rinse with clean water and let dry.
Clean the Fan Housing
While the fan cover is off, take the opportunity to clean the inside of the fan housing. Use a degreaser or vinegar solution and a neat cloth to wipe down the inside of the fan housing. Be sure to remove any debris that may have accumulated. You can also use a vacuum to remove any excess dust or debris.
Reassemble the Fan
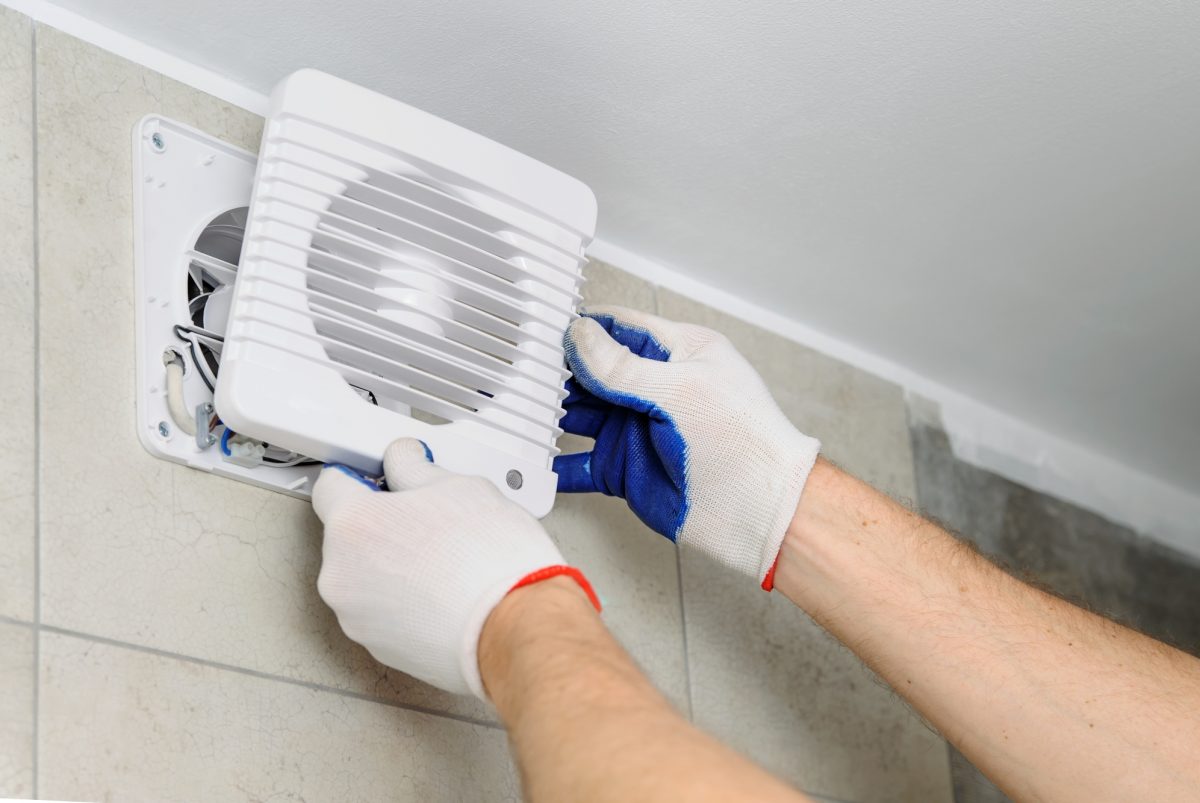
Once the fan cover, blades, and housing are clean and dry, it's time to reassemble the fan. Carefully replace the fan cover and reattach any screws or clips holding it in place. Please turn on the power and test the fan to ensure it's working correctly.
Pros
- Removes grease and dust, leading to cleaner kitchen air.
- Frequent DIY cleaning can prevent buildup and improve fan performance.
- DIY cleaning saves money compared to hiring professional services.
Cons
- Improper handling of electrical components can pose hazards.
- Cleaning can take significant time, especially if buildup is heavy.
Common Mistakes When Cleaning Kitchen Exhaust Fans
Many homeowners overlook the importance of regular cleaning. Waiting too long leads to grease buildup that makes cleaning harder. Schedule regular cleanings to avoid this issue. Aim for every three to six months, depending on your cooking habits.
Another frequent error is using the wrong cleaning solution. Harsh chemicals can damage the fan's finish or internal components. Stick to mild soap and water or vinegar for effective cleaning without harm.
Many people forget to unplug the fan before cleaning. This could lead to accidental injuries or malfunctions when reassembling. Always prioritize safety by disconnecting power before beginning any cleaning task.
Cost Considerations for Cleaning Supplies
Cleaning your kitchen exhaust fan shouldn't break the bank. Basic supplies, such as mild dish soap, a sponge, and a microfiber cloth, usually cost around $10-$20. A more thorough job may require a degreaser for stubborn grime, typically priced between $5 and $15.
If you decide to hire a professional service, expenses can range from $100 to $300. This includes labor and materials, which might be worthwhile for complex systems or lack of time. Compare the cost against your comfort with DIY cleaning.
Maintenance Tips for Long-Lasting Performance
In addition to regular cleanings, consider checking filters monthly. Many range hoods have removable or washable filters. Clean or replace them according to the manufacturer's guidelines to maintain airflow efficiency.
Look for signs of wear and tear. If you notice unusual noises or decreased performance, investigate immediately. It may be a small fix, but unresolved issues can lead to costly repairs later.
Finally, ensure the area around the exhaust fan is free from obstructions. A clear path enhances airflow and reduces strain on the motor, prolonging the life of your kitchen exhaust fan.
Tools for Effective Cleaning
Having the right tools on hand can make your cleaning process much smoother. Start with a soft brush to remove loose debris, and a vacuum with a hose attachment to tackle hard-to-reach areas.
Additionally, use degreaser spray to break down sticky residue. Don’t forget microfiber cloths, which are excellent for trapping dirt without scratching surfaces. Consider these essentials:
- Soft-bristle brush
- Degreaser spray
- Microfiber cloths
- Vacuum with attachment
Who Should Opt for DIY Cleaning?
DIY cleaning suits homeowners who enjoy home maintenance tasks. It allows you to save money while keeping your kitchen exhaust system in good shape. If you have a moderate level of comfort with tools, this is a great option for you.
On the other hand, those who aren't handy or lack time might prefer hiring professionals. Remember, if your exhaust fan hasn’t been cleaned in years, hiring an expert for a deep clean may be wise before opting for DIY methods.
Conclusion
Regularly cleaning your kitchen exhaust fan is essential to maintain a healthy and safe kitchen environment. Following these DIY tips lets you keep your kitchen exhaust fan clean and working correctly. Gather the basic tools and materials, turn off the power, and thoroughly clean the fan cover, blades, and housing.
Doing so can keep your kitchen smelling fresh and decrease the risk of fire hazards.