

This article will explore the benefits of remote-controlled ceiling fans without a wall switch and provide a step-by-step installation guide. Ceiling fans are popular choice for cooling and improving airflow in homes. Traditionally, these fans were operated through wall switches. However, with technological advancements, remote-controlled ceiling fans have become increasingly popular. The question arises: Does a remote-controlled ceiling fan need a wall switch?
Advantages of a Remote-Controlled Ceiling Fan without a Wall Switch
1. Increased Convenience and Ease of Use
- With a remote control, you can adjust the fan speed, change the direction, and turn the fan on/off without getting up from your seat.
- Eliminating the need for a wall switch allows for seamless operation from anywhere in the room, providing ultimate convenience.
2. Enhanced Flexibility in Fan Control
- Remote-controlled ceiling fans often have advanced features such as programmable timers, sleep mode, and variable speed settings.
- These features allow you to customize your fan's operation to suit your preferences, providing optimal comfort.
3. Aesthetically Pleasing without Wall Switch Clutter
- Removing the wall switch from the equation gives your room a cleaner and more streamlined look.
- The absence of a wall switch eliminates visual distractions, making the fan the room's centerpiece.
How to Install a Remote-Controlled Ceiling Fan without a Wall Switch
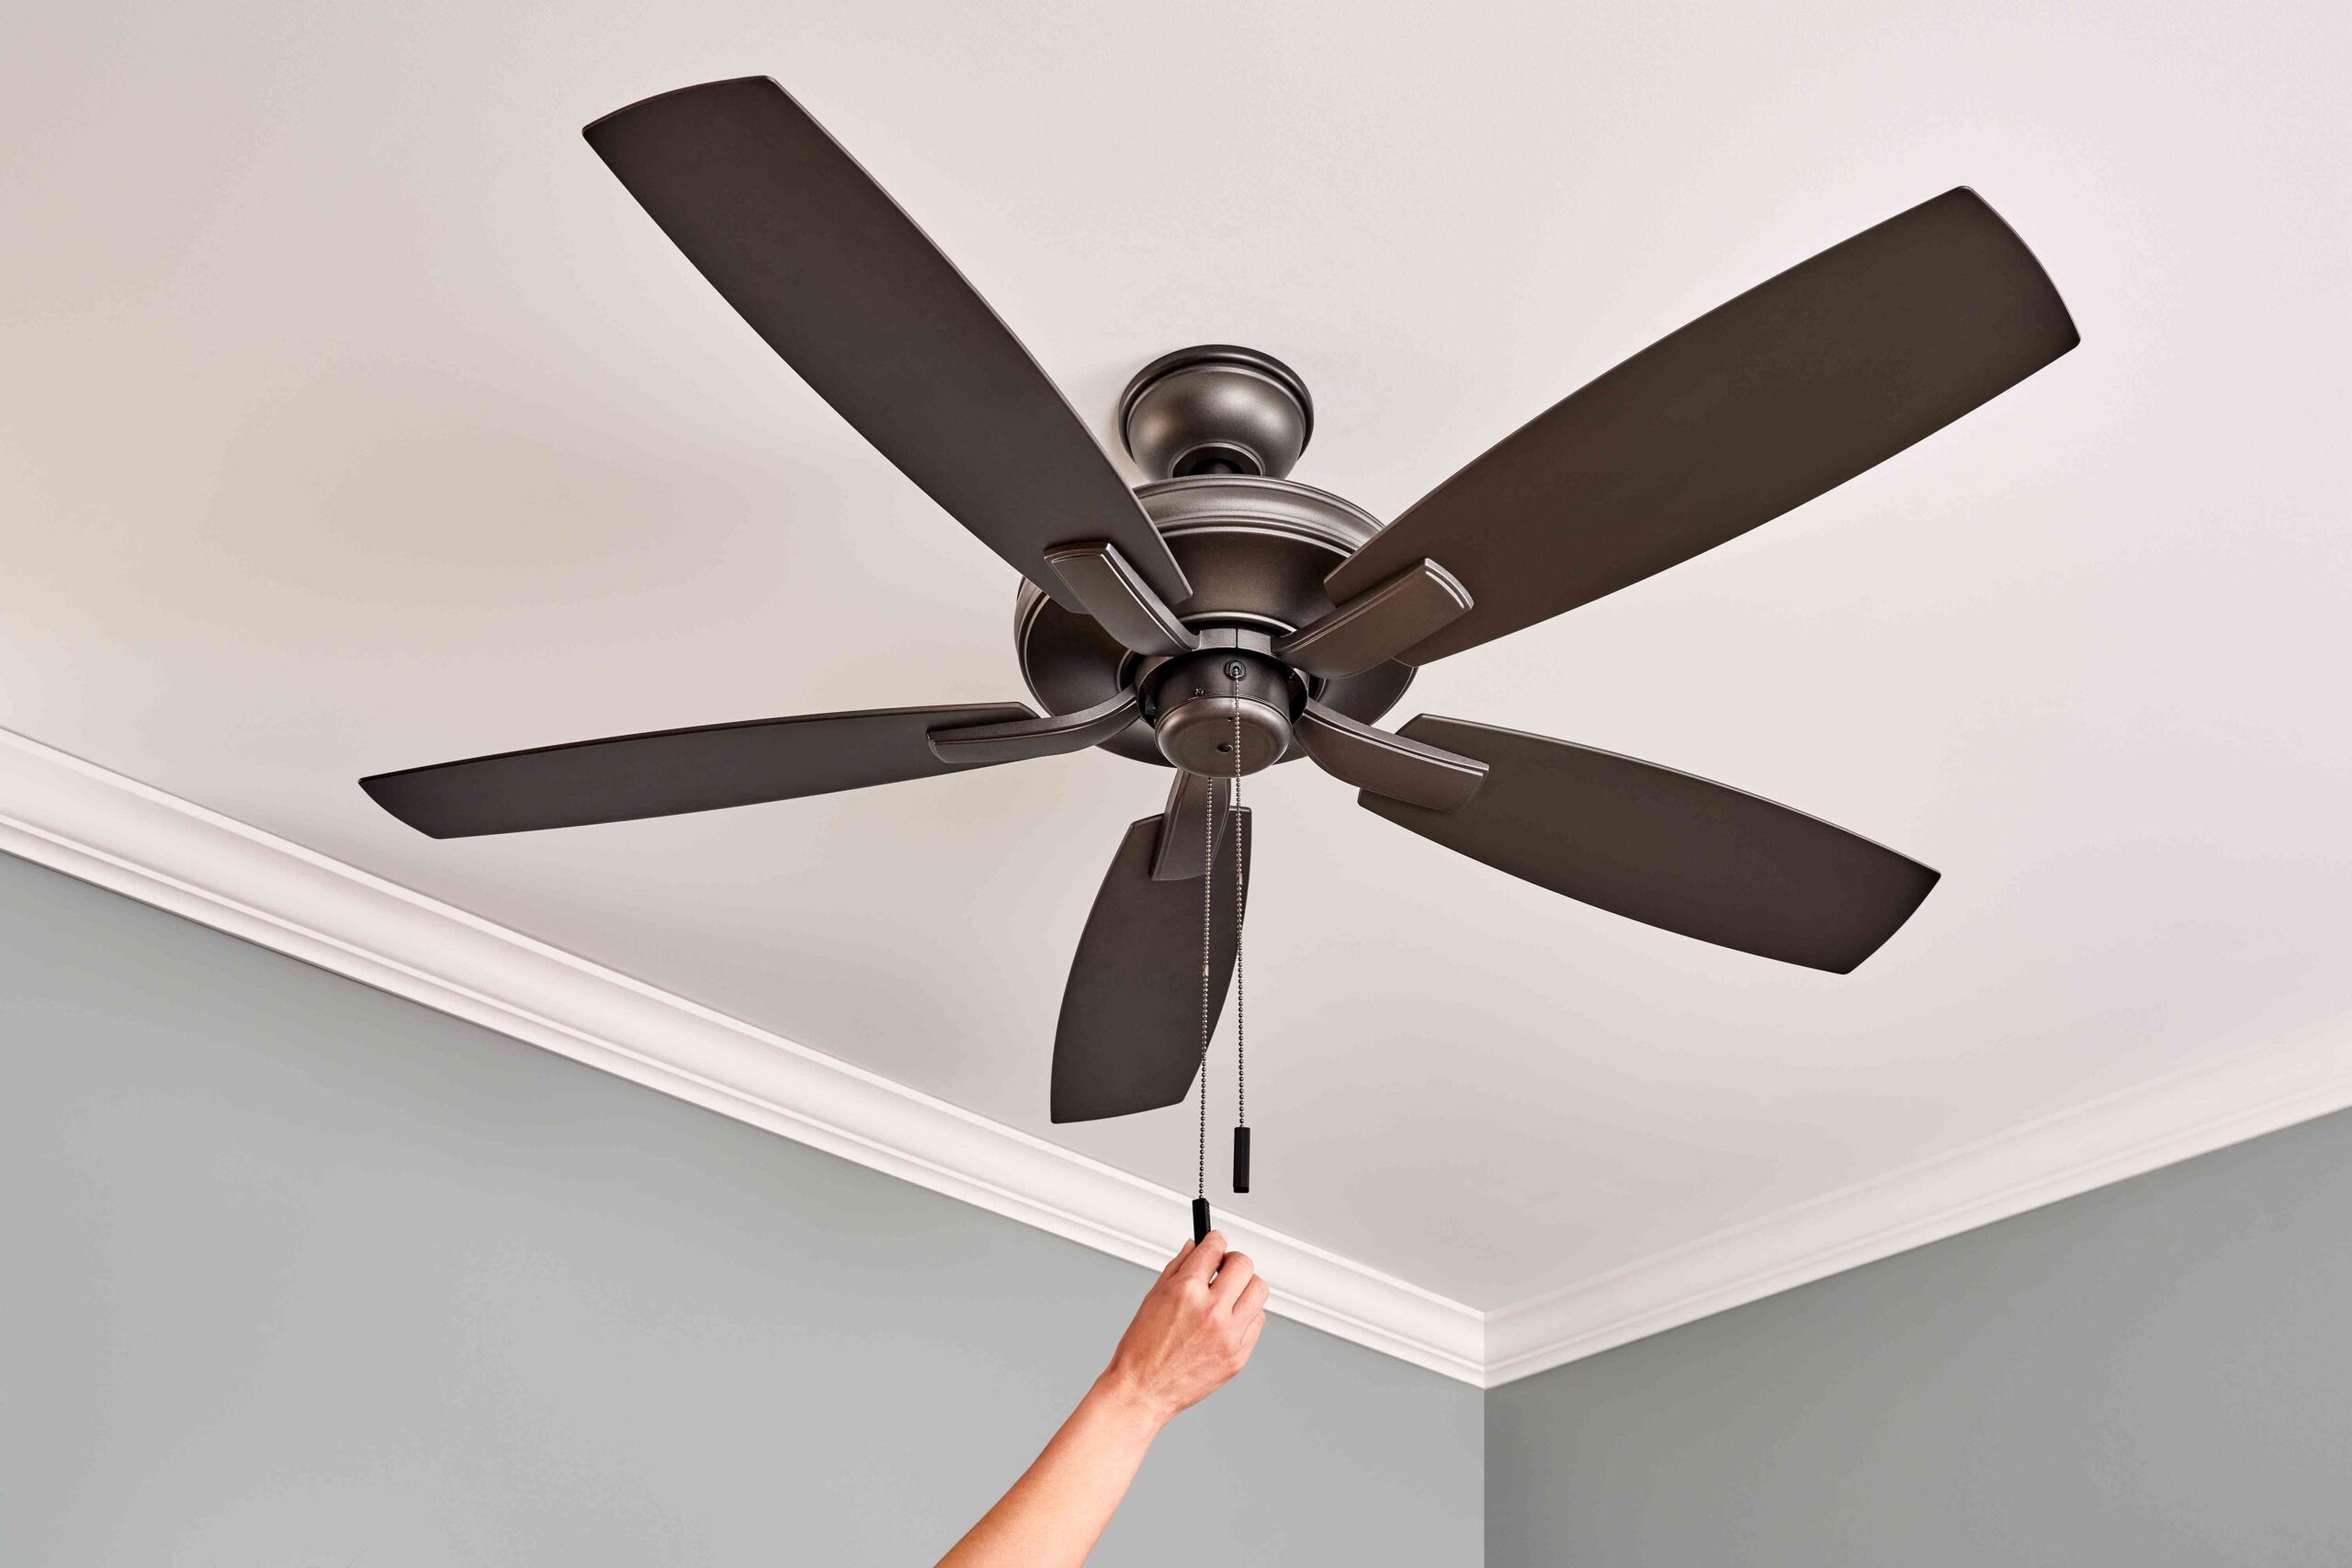
1. Check Compatibility and Purchase a Remote-Controlled Ceiling Fan
- Ensure that your existing ceiling fan is compatible with the remote control or consider purchasing a new remote-controlled ceiling fan.
2. Turn Off Power and Remove the Existing Wall Switch
- Before starting any electrical work, turn off the power at the circuit breaker.
- Remove the plate cover and disconnect the wires from the existing wall switch.
3. Install the Remote Receiver in the Ceiling Fan Canopy
- Locate the canopy at the top of the ceiling fan and remove it.
- Follow the manufacturer's instructions to install the remote receiver in the canopy, securing it properly.
4. Connect the Wiring According to the Instructions
- Refer to the wiring diagram provided by the manufacturer.
- Connect the wires from the remote receiver to the corresponding wires in the ceiling fan.
5. Mount the Ceiling Fan and Secure It Properly
- Lift the ceiling fan and align it with the mounting bracket.
- Secure the fan to the bracket using screws or other mounting hardware.
6. Test the Fan and Remote-Control Functionality
- Turn the power back on at the circuit breaker.
- Test the fan and remote control to ensure they are functioning correctly.
Pros
No wall switch hassle – Great for remodels or rentals.
- Convenience at a cost – Handy remote, no need to get up.
- Sleek appearance – Cleaner walls, modern feel.
- Flexible install – Mount anywhere, not switch-bound.
- All-in-one control – Fan speed and lights together.
Cons
- One remote = single point of failure – Lose it, you're stuck.
- Fails building codes in some areas – Can’t legally skip the switch.
- Unreliable after power loss – Fans may reset or stay off.
Common Mistakes to Avoid
When installing a remote-controlled ceiling fan, small oversights can lead to major problems. One frequent error is neglecting to check the fan's weight limit if it's being mounted on a ceiling brace instead of directly onto a joist. Ensure the support system can handle the weight of the fan for optimal safety.
Another mistake is misreading the wiring diagrams. Double-check your connections against the manufacturer’s instructions. Incorrect wiring can damage the fan or create a fire hazard.
Additionally, skimping on the remote's battery replacement can lead to frustrating moments. Regularly check and replace batteries to maintain seamless functionality.
Cost Considerations for Remote-Controlled Ceiling Fans
When budgeting for a remote-controlled ceiling fan, consider both initial and ongoing costs. A quality fan typically ranges from $100 to $500, depending on style and features. Don't forget to evaluate the cost of additional installation supplies, like mounting brackets or wiring, which may add $20 to $100 to your total expenses.
Energy efficiency is another factor. Fans can reduce air conditioning costs by circulating air effectively. This creates savings on your monthly utility bills, which justifies the investment over time.
Conclusion
By opting for a remote-controlled ceiling fan without a wall switch, you can enjoy increased convenience, enhanced flexibility in fan control, and an aesthetically pleasing room. The installation process is straightforward, but remember to turn off the power before starting any electrical work and follow the manufacturer's instructions carefully.
Upgrade your ceiling fan experience and embrace the comfort and style of a remote-controlled ceiling fan without a wall switch.