

This guide will explore cleaning a fan using a simple tool: a plastic bag. Keeping your household appliances clean is essential for optimal performance and longevity. Regular cleaning of your fan helps remove dust and dirt, ensures better airflow, and increases its lifespan.
Why clean your fan with a plastic bag?
Using a plastic bag to clean your fan offers several advantages. It allows you to effectively capture dust and debris, preventing them from spreading around the room. Additionally, the plastic bag method is simple, inexpensive, and does not require any specialized equipment.
Tools and Materials Needed
Before you begin cleaning your fan, gather the following tools and materials:
- Plastic bag (large enough to fit)
- A soft cloth or vacuum cleaner with a brush attachment
- Screwdriver (if necessary for fan disassembly)
- Mild detergent or cleaning solution
- Water
- Towel or drying cloth
Step-By-Step Guide on Cleaning a Fan with a Plastic Bag
Limits airborne dust, helpful for allergy sufferers.
Always prioritize safety. Before cleaning, unplug the fan from the power circuit to avoid any accidents. Prepare a large plastic bag that can comfortably fit over the entire fan.
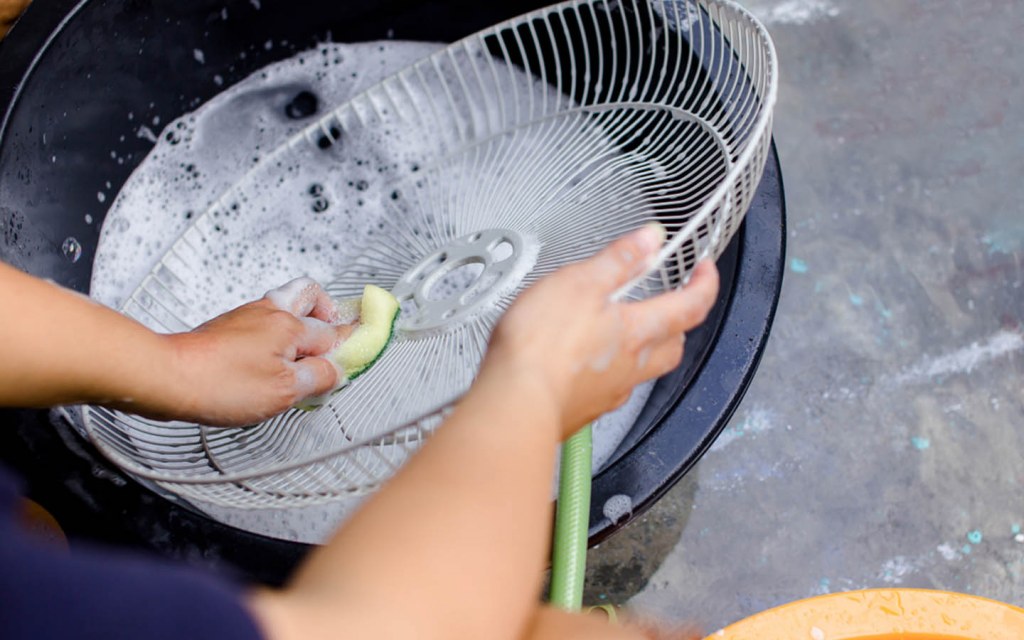
2. Remove the Fan Grille or Cover
Many fans have a removable grille or cover. Use a screwdriver (if needed) to remove it carefully. Check the manufacturer's instructions if you need clarification on the removal process.
3. Cover the Motor with a Plastic Bag
Cover the motor with a plastic bag to protect it from dust and moisture. Ensure the bag is tightly secured around the motor housing.
4. Secure the Plastic Bag to the Fan
Place the plastic bag over the fan, ensuring it covers the fan blades entirely. Gently secure the bag to the fan body using rubber bands or tape, ensuring it's tightly sealed.
5. Shake the Bag to Remove Dust
Hold the fan firmly and shake the bag gently to dislodge any dust or debris. The dust particles will stick to the inside of the bag, preventing them from scattering around the room.
6. Vacuum or Wipe the Fan Blades
Carefully remove the bag from the fan. Apply a vacuum cleaner with a brush or a soft cloth to clean the fan's blades. If using a cloth, dampen it with a mild detergent or cleaning solution to remove stubborn dirt.
7. Reassemble the Fan
Allow the fan blades to dry completely. Once dry, reattach the fan grille or cover. Ensure it is securely in place. Plug the fan back into the power source, and your freshly cleaned fan is ready to use!
Additional Tips for Fan Maintenance
- Clean your fan regularly to prevent dust build-up.
- Wipe the fan blades with a soft cloth every few weeks to maintain cleanliness.
- Consider using compressed air or a vacuum cleaner to clean dust from the fan motor and internal components.
Pros
- Uses a common household item—no special tools needed.
- Saves time compared to disassembling the fan.
- Limits airborne dust, helpful for allergy sufferers.
Cons
- Doesn’t clean deep or greasy buildup effectively.
- Positioning the bag securely may be tricky.
Common Mistakes to Avoid While Cleaning Your Fan
One frequent error is using too much force when shaking the bag. Gentle movements are more effective at loosening dust without damaging fan blades or the motor. Another mistake is neglecting to check or change the vacuum attachment. Using the correct attachment can make the removal process smoother and more efficient.
Failing to secure the plastic bag properly can lead to dust escaping. Ensure the bag is tightly fastened to avoid mess. Finally, skipping the cleaning of the motor can shorten the lifespan of your fan. Dust accumulation on the motor can lead to overheating and potential failure.
Maintenance Tips for Prolonging Fan Life
Regular maintenance can significantly extend the lifespan of your fan. Aim to clean your fan every month during peak use seasons. This schedule reduces dust buildup and creates a healthier environment.
Additionally, check the fan's motor and blades for damage during cleaning. Tightening screws and ensuring no parts are loose can prevent future issues. Lubricating the motor occasionally can also enhance performance and reduce noise levels.
Cost-Effective Alternatives to Plastic Bag Cleaning
While using a plastic bag is effective, you can explore other low-cost methods for fan cleaning. For instance, microfiber cloths are excellent for capturing dust without leaving residue. A damp cloth can also effectively wipe down blades and grilles. Look for reusable options that can save you money over time.
Consider using a fan blade cleaning tool as well. They typically cost around $10-15 and can simplify the process. These tools fit around blades, removing dust while minimizing mess.
Who Should Use This Method?
This cleaning technique is excellent for anyone short on time or those who dislike extensive clean-up afterward. If you have allergies, a plastic bag ensures that dust particles stay contained. This method is also great for families with children or pets, where safety and quick cleanup are priorities.
However, if you own antique or complex fans, take caution. The bag method may not provide the thorough cleaning required. In these cases, consider traditional tools or professional cleaning.
Conclusion
Following these steps, you can keep your fan clean and maintain its optimal performance. Regular cleaning will improve airflow, prevent dust accumulation, and extend the lifespan of your fan. Take a few minutes to clean your fan using a plastic bag, and enjoy the benefits of a new and efficient home appliance.