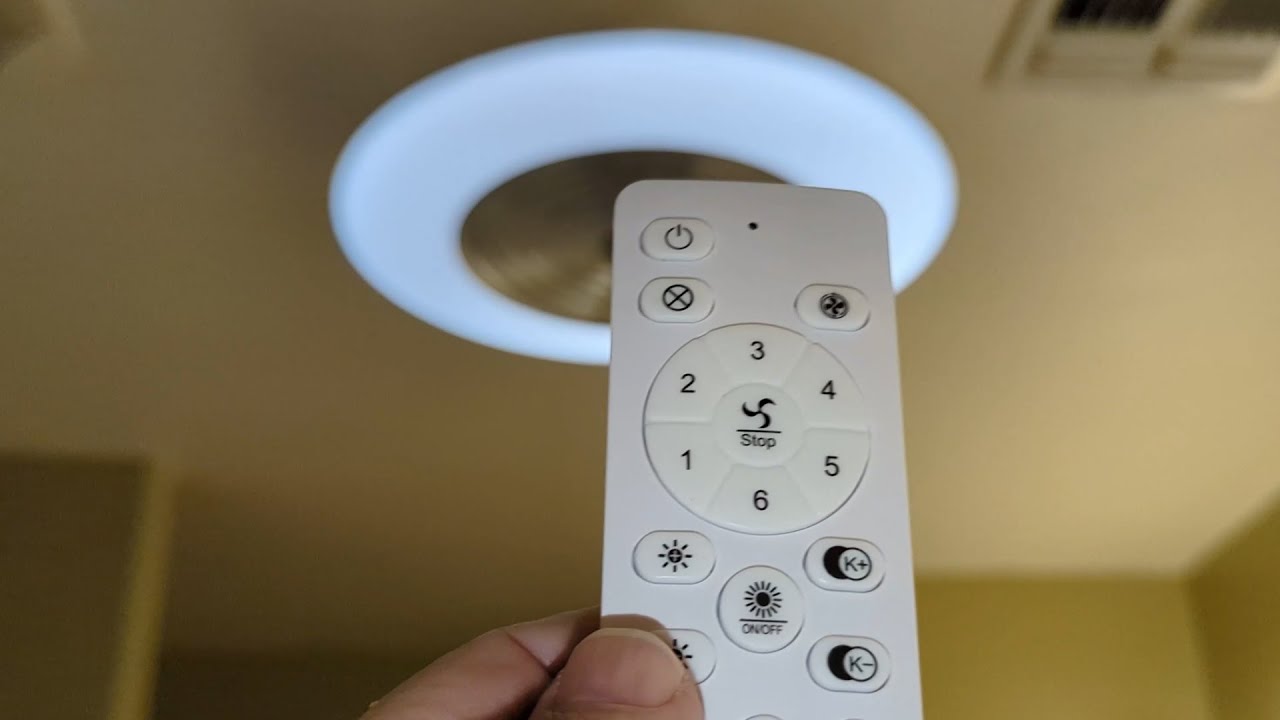
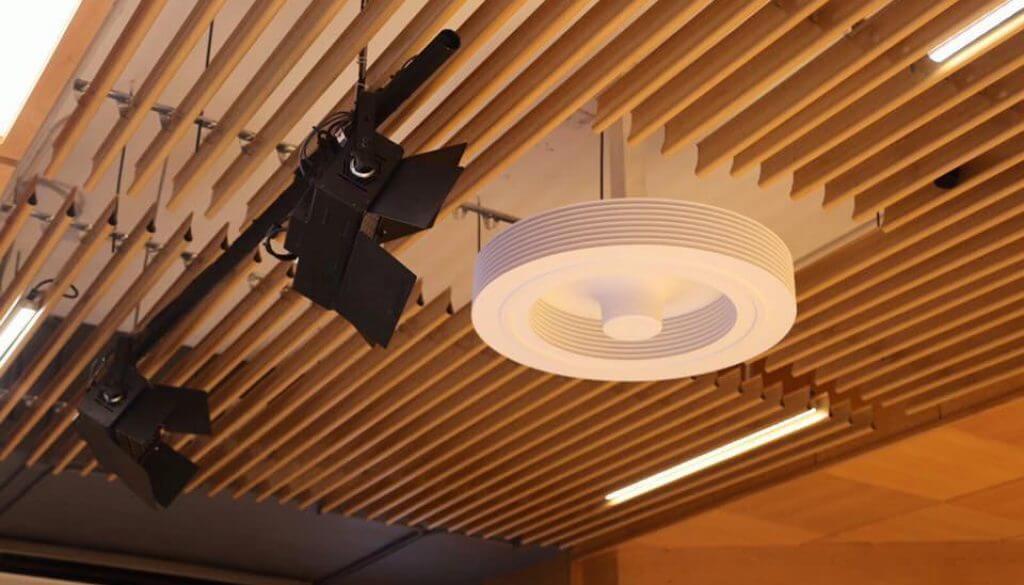
Bladeless ceiling fans have become increasingly famous for their outstanding design and benefits. Unlike traditional ceiling fans, bladeless fans use a turbine or impeller to create air movement, resulting in quiet operation and improved energy efficiency. However, proper installation is crucial to ensure optimal performance and safety. This article will guide how to wire a bladeless ceiling fan, including pre-installation preparation, wiring preparation, installation, post-installation testing, electrical safety tips, and maintenance.
Pre-Installation Preparation
Before beginning the installation process, there are a few things to consider:

1. Assessing the Location
Select a place that is best for the bladeless ceiling fan installation. It should have enough space to adjust the fan and be at least 7 feet above the floor for safety. Additionally, ensure that the electrical wiring in the area suits the installation.
2. Gathering Necessary Tools and Materials
Ensure all the necessary tools and materials are on hand before installing. It may include a screwdriver, wire stripper, pliers, wire connectors, and a voltage tester, among other things.
Wiring Preparation
Proper wiring preparation is crucial to ensure optimal performance and safety of the bladeless ceiling fan.
1. Understanding Electrical Circuits
Familiarize yourself with the electrical circuits in the area where the fan will be installed. It will help you identify the correct circuit breaker and wires to work with during the installation process.
2. Wiring Diagram Analysis
Study the wiring diagram provided with the bladeless ceiling fan. It will help you understand the different wires, their functions, and how they should be connected to ensure proper operation.
3. Preparation of Electrical Wiring
Before starting the wiring installation:
- Ensure that the power to the electrical circuit is turned off.
- Strip the insulation from the electrical wires and separate the wires that need to be connected.
- Twist the wires together and use wire connectors to secure them in place.
Wiring Installation
Now that the wiring preparation is complete, it's time to move on to the installation procedure.
1. Mounting the Fan Bracket
Attach the fan bracket to the ceiling using screws and anchors. Ensure that it is secure and level.
2. Connecting Electrical Wires
Connect the electrical wires from the fan to the corresponding wires in the ceiling. Follow the wiring diagram carefully to ensure proper connections. Use wire connectors to secure the wires in place.
3. Securing the Fan
Attach the bladeless fan to the bracket using screws. Make sure that the fan is securely fastened and leveled.
Post-Installation

Once the wiring installation is complete, a few things must be done to ensure optimal performance and safety.
1. Testing the Fan
Turn on the power to the electrical circuit and test the fan. Ensure that it works correctly and that no unusual noises or vibrations exist.
2. Electrical Safety Tips
When working with electrical wiring, it's important to follow safety guidelines. It includes turning off the power to the circuit, using insulated tools, and wearing protective gear.
3. Maintenance and Care
Make sure optimal performance and longevity of the bladeless ceiling fan; it's essential to perform regular maintenance and care of fan. It may include dusting the fan regularly, checking the wiring connections periodically, and lubricating the motor as needed.
Pros
- Simplified wiring due to integrated motor and control system.
- Many models come pre-wired or with clear instructions for DIY installation.
- Low power consumption simplifies compatibility with existing circuits.
- Smart bladeless fans often use wireless controls, reducing switch wiring needs.
Cons
- Wiring may require knowledge of smart home or remote control systems.
- Troubleshooting electrical issues can be harder due to enclosed components.
Conclusion
In conclusion, wiring a bladeless ceiling fan may seem daunting, but it can be done safely and efficiently with proper preparation and care. Observing the steps mentioned in this blog and electrical safety guidelines will ensure the fan is installed correctly and works at its best. Enjoy the benefits of a bladeless ceiling fan, including quiet operation and improved energy efficiency, with peace of mind.
